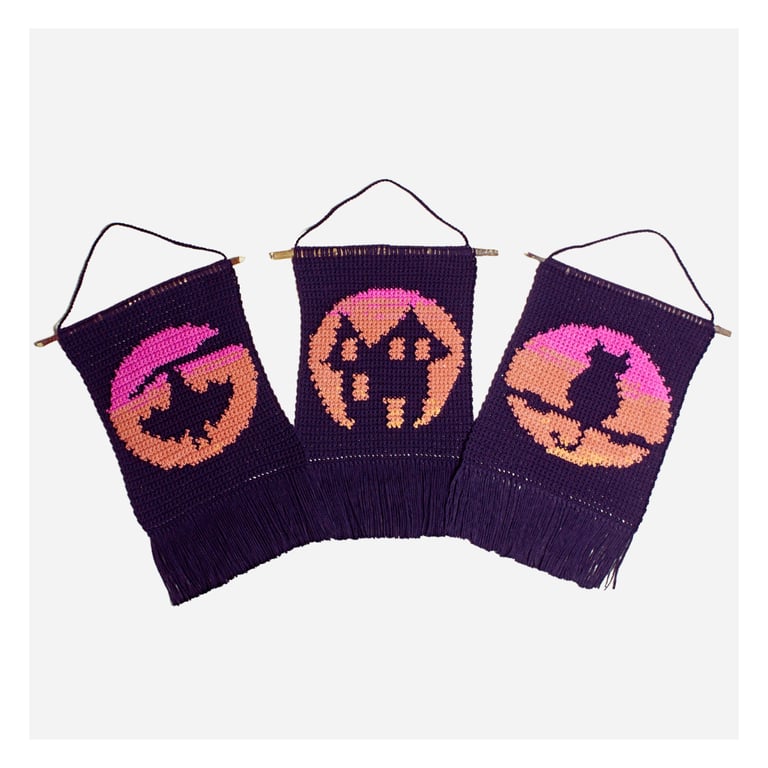
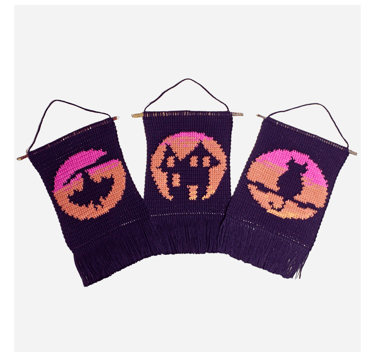
Halloween Twilight Wall Hangings
Free Crochet Patterns
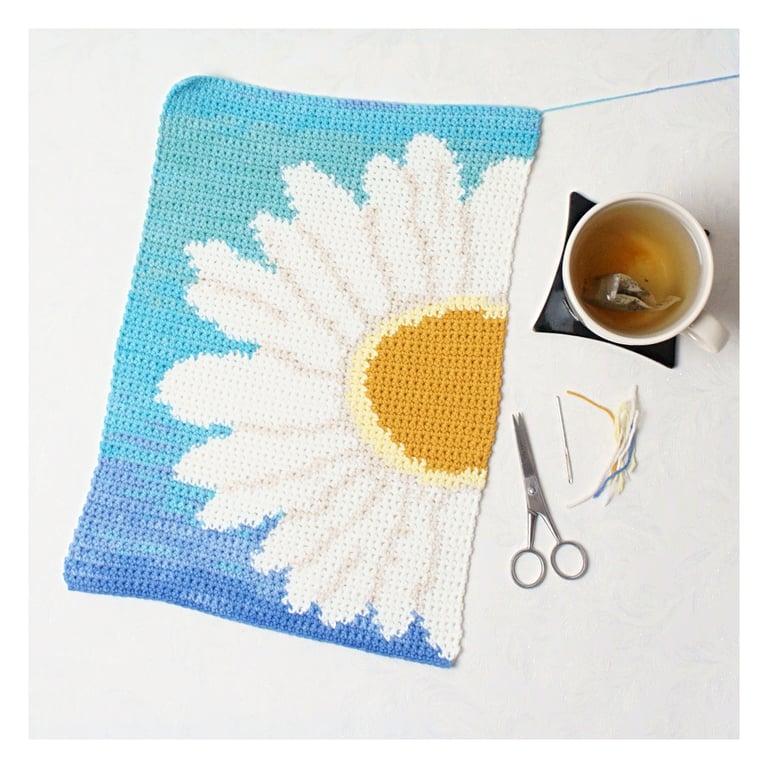
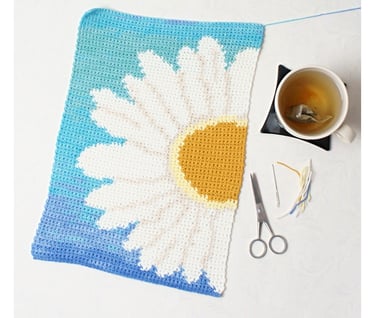
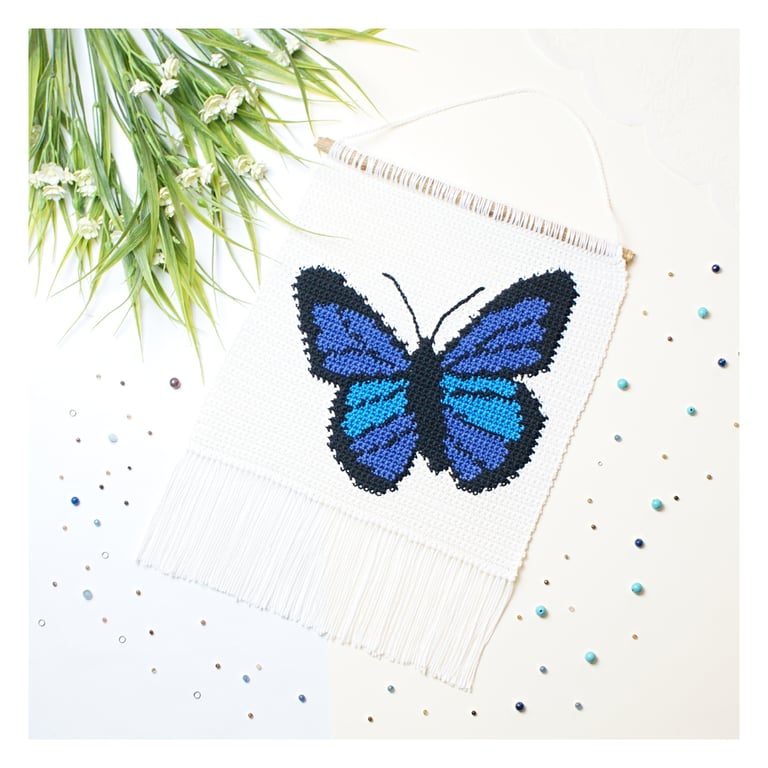
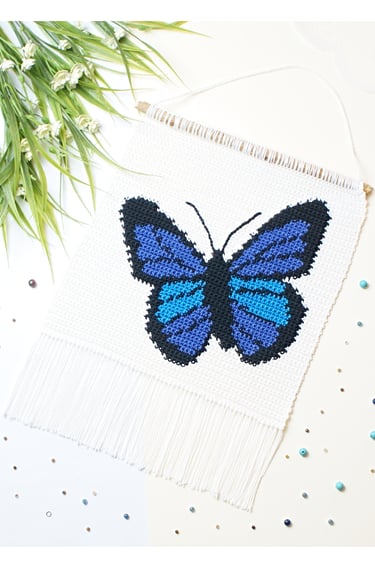
Wall Hanging Crochet Pattern
Privacy Policy
Contact Us
Terms and Conditions
About